Game Hosting guide
How to use the Palworld interactive map
The map has about 17,700 points from Palworld 1.0.5 (every effigy, egg, chest, ore, fishing spot and boss) and where 274 Pals spawn. Here is how to find what you need, pin your own spots and tick off what you already found.
- 10 steps
- Free, no account
- Runs in your browser
Step 1: Turn on what you’re looking for
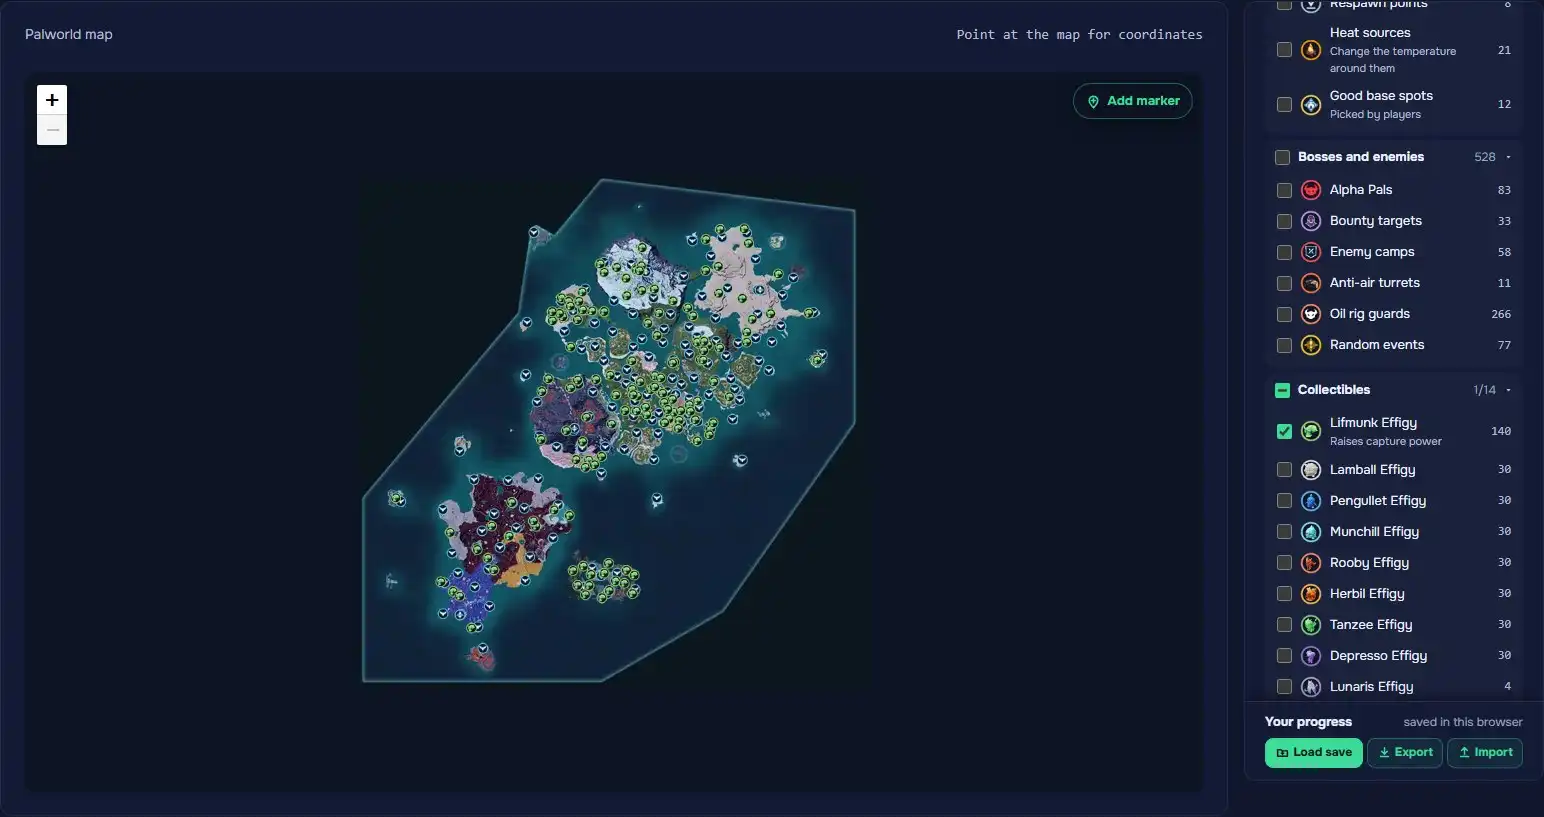
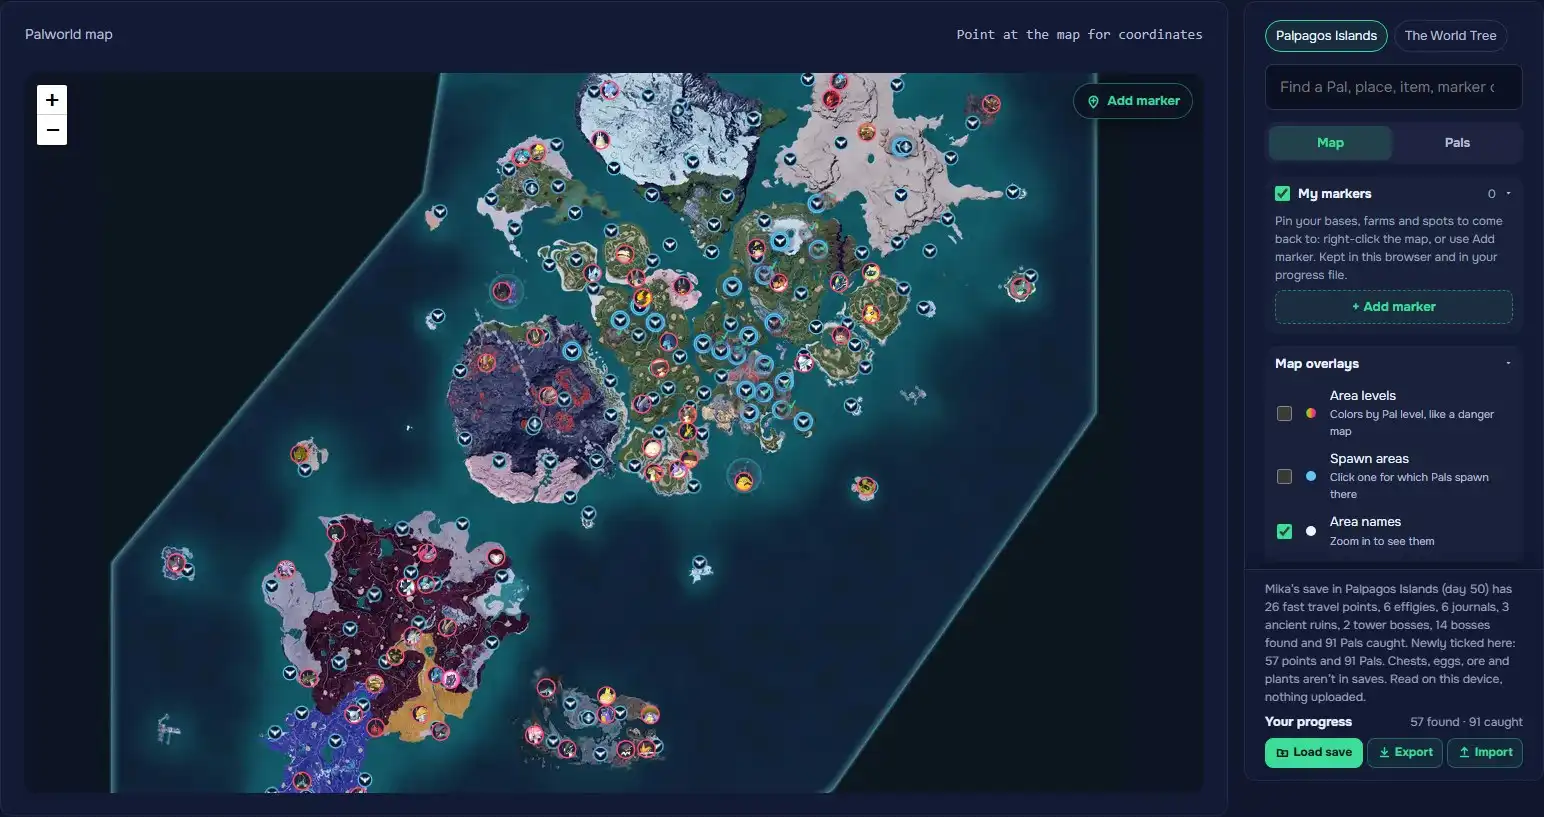
The list on the right groups every kind of point: Locations, Bosses and enemies, Collectibles, Chests and loot, Eggs, Fishing, Mining, Plants, People and Wild Pals. Tick a kind to show it, or the box next to a group’s name to show the whole group. The number beside each kind is how many there are on this map.
Show all turns on everything except the heaviest layers (treasure chests, ore, Paldium…); Hide all points clears the map.
The map remembers the layers you had on, in this browser.
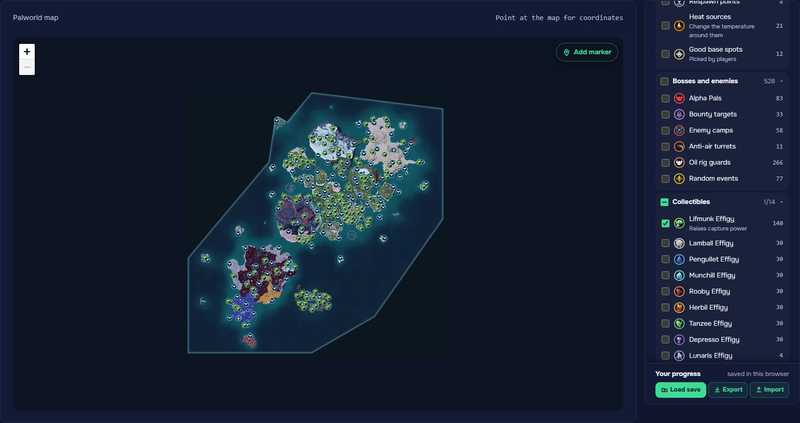
Step 2: Click a point to see what it holds
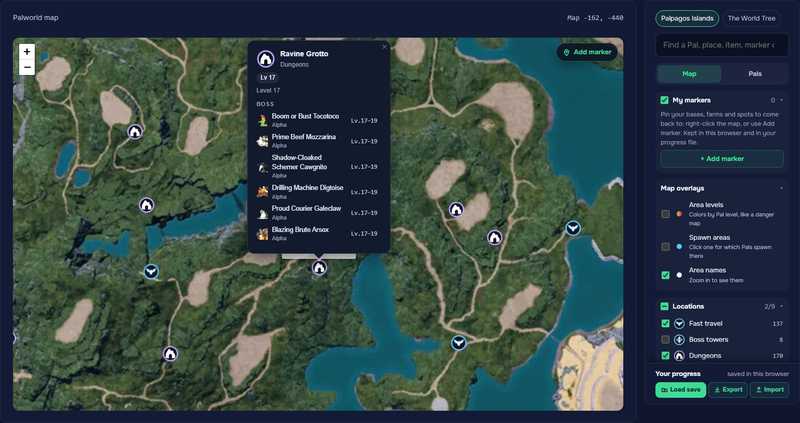
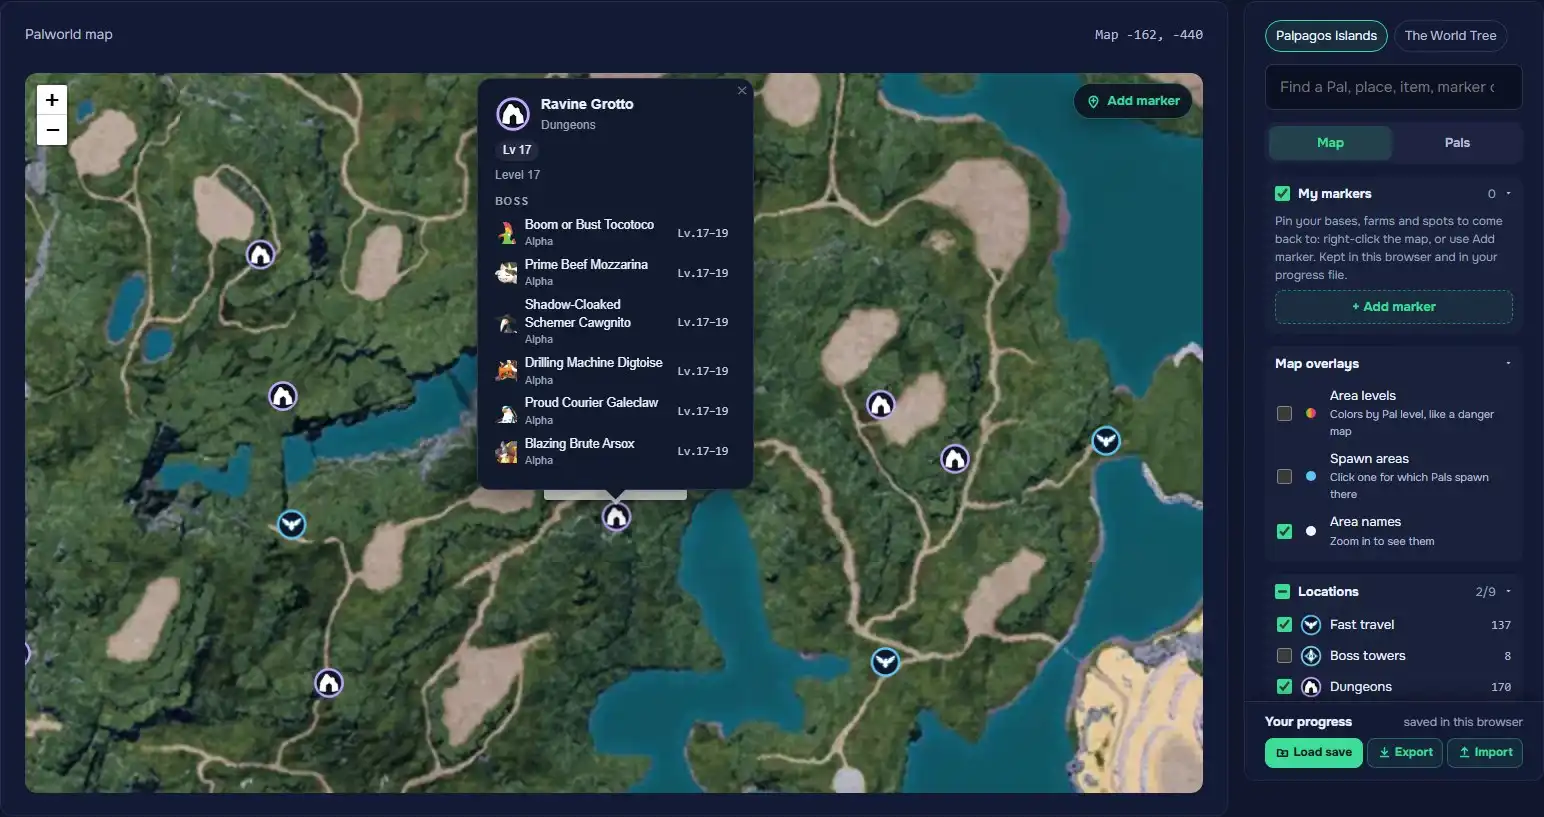
Every point has a card: its level, whether it comes back and when, and what’s inside. A dungeon lists its bosses, an egg the Pals it hatches and how likely each is, a chest its drops, a merchant what it sells.
Mark as found dims the point on your map, so you can see what’s left.
Turn on Area levels under Map overlays to color every zone by Pal level, like a danger map.
Step 3: Search for a Pal, a place or an item
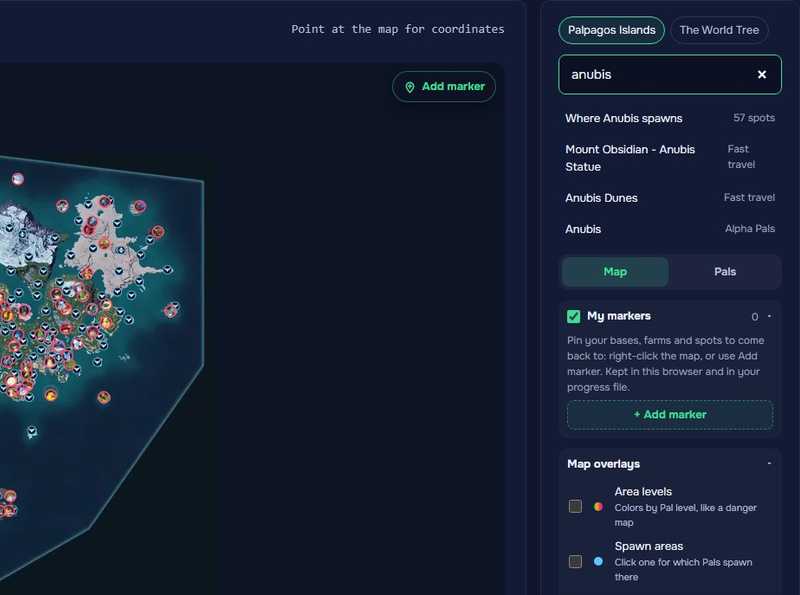
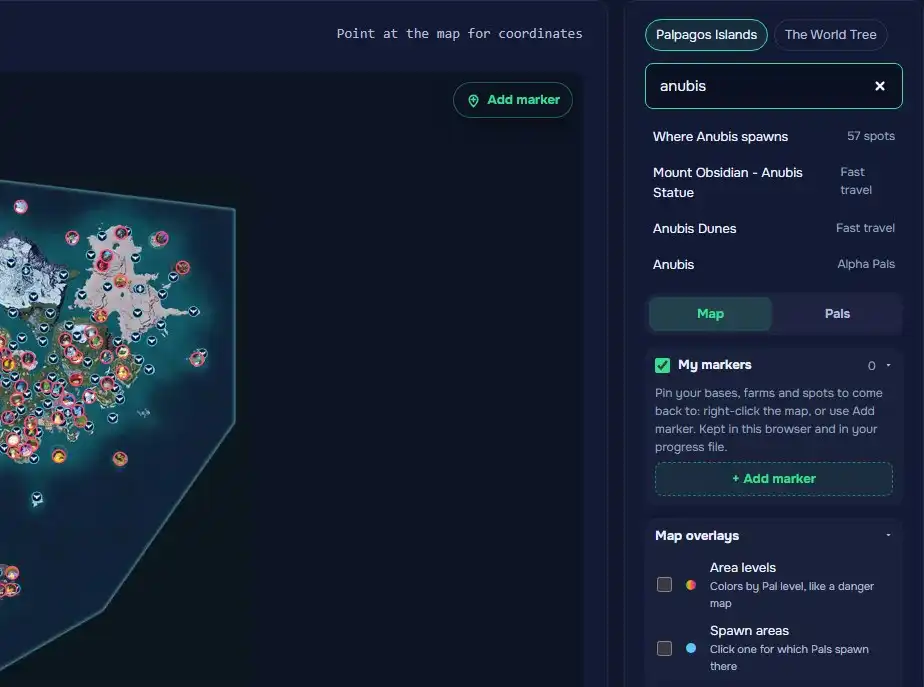
Type in the search box at the top of the list. You get where a Pal spawns, fast travel points and places with that name, whole layers (“Show Coal”) and your own markers. Click a result to go there.
Step 4: See where a Pal spawns
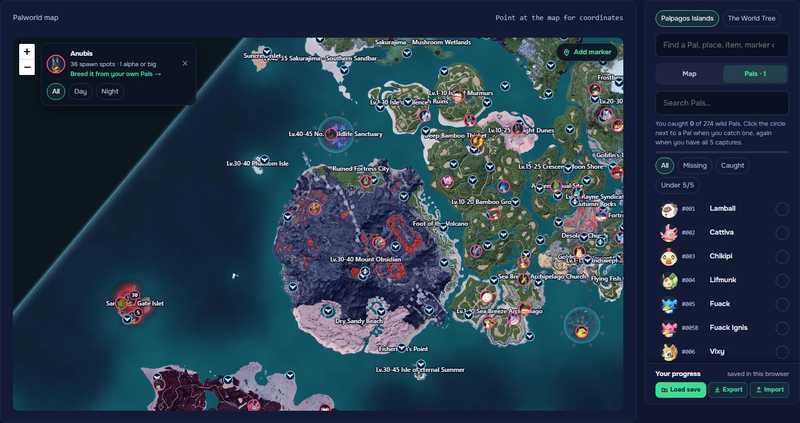
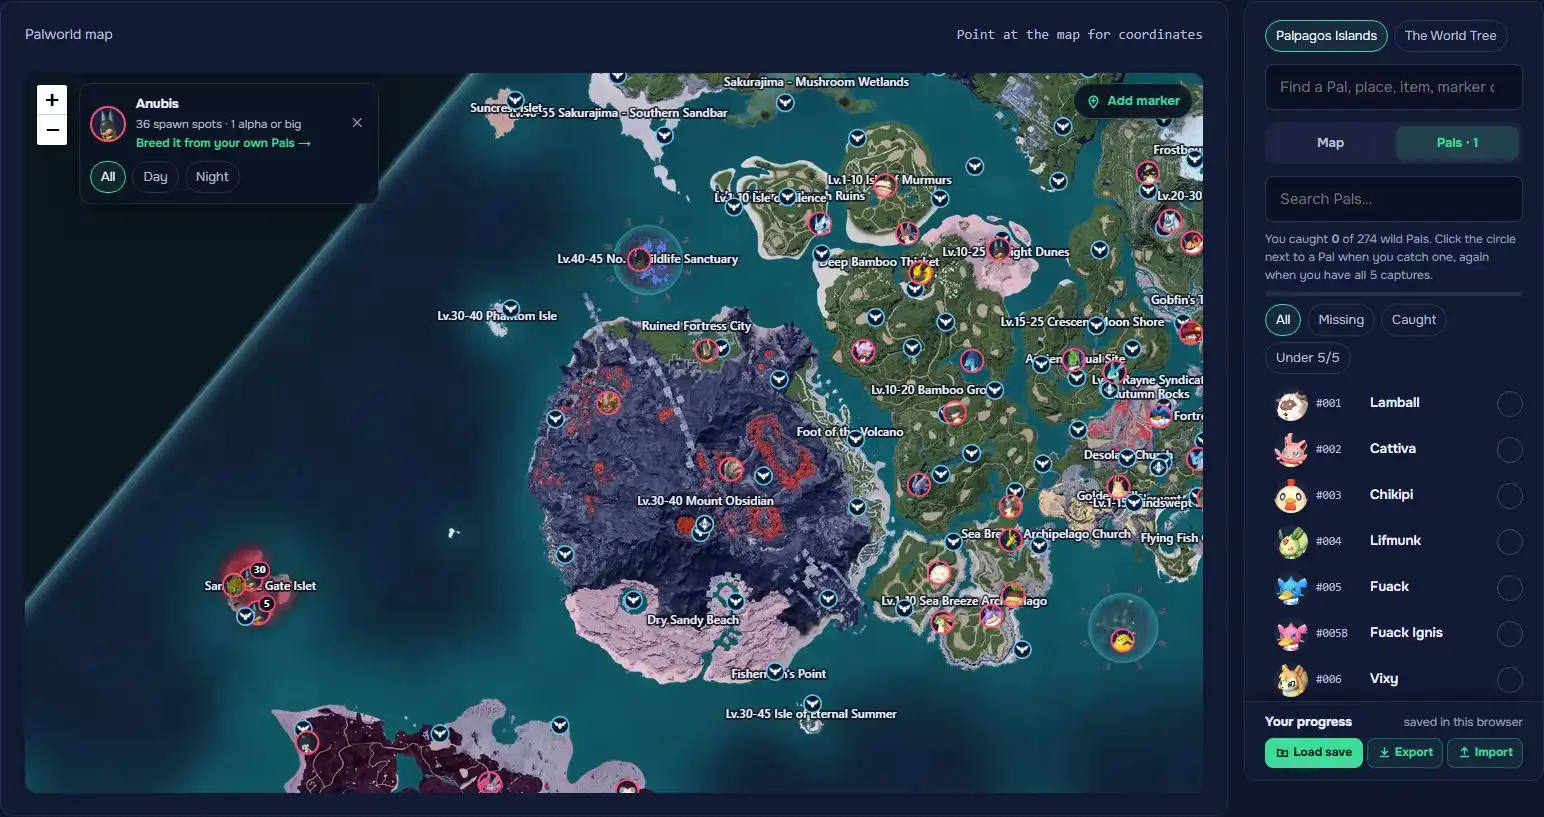
Open the Pals tab and pick a Pal: the map glows where it spawns and groups its spawn points with a count. The card on the map says how many spots there are and how many are alpha or big; switch between All, Day and Night. You can pick up to six Pals at once, each in its own color.
Click the circle next to a Pal when you catch it, and again when you have all 5 captures: the count at the top and the Missing filter keep track.
A Pal that only lives on the World Tree switches the map there for you.
Step 5: Pin your own markers
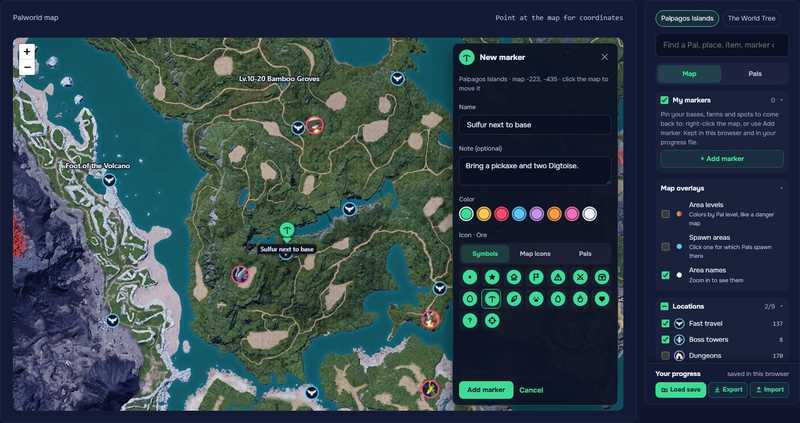
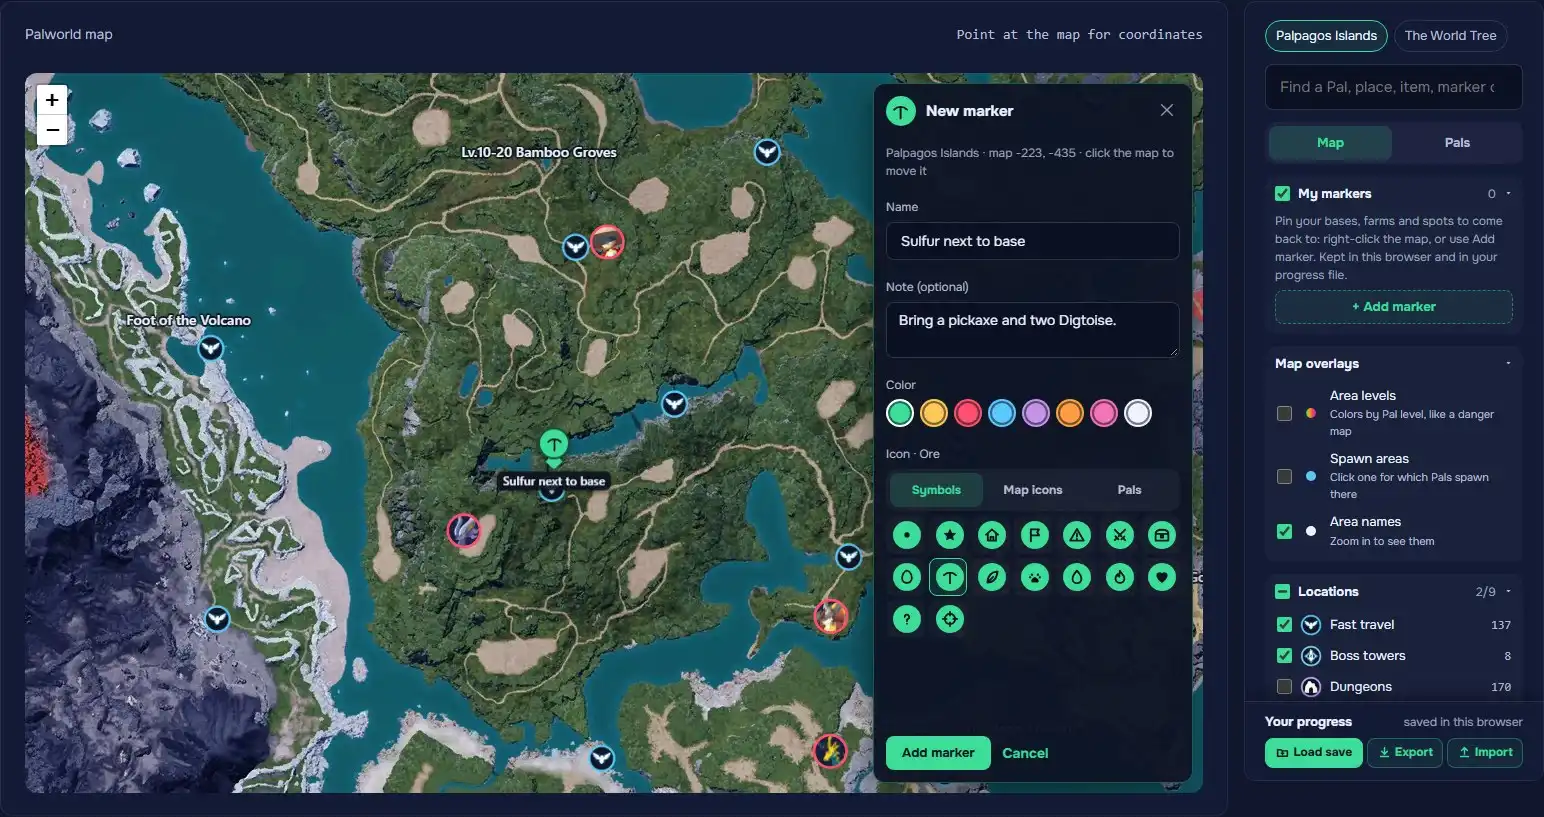
Right-click the map (or press and hold on a phone), or use Add marker. Give it a name, a note if you like, a color and an icon: a symbol, any of the map’s icons or any Pal. Click Add marker to save it.
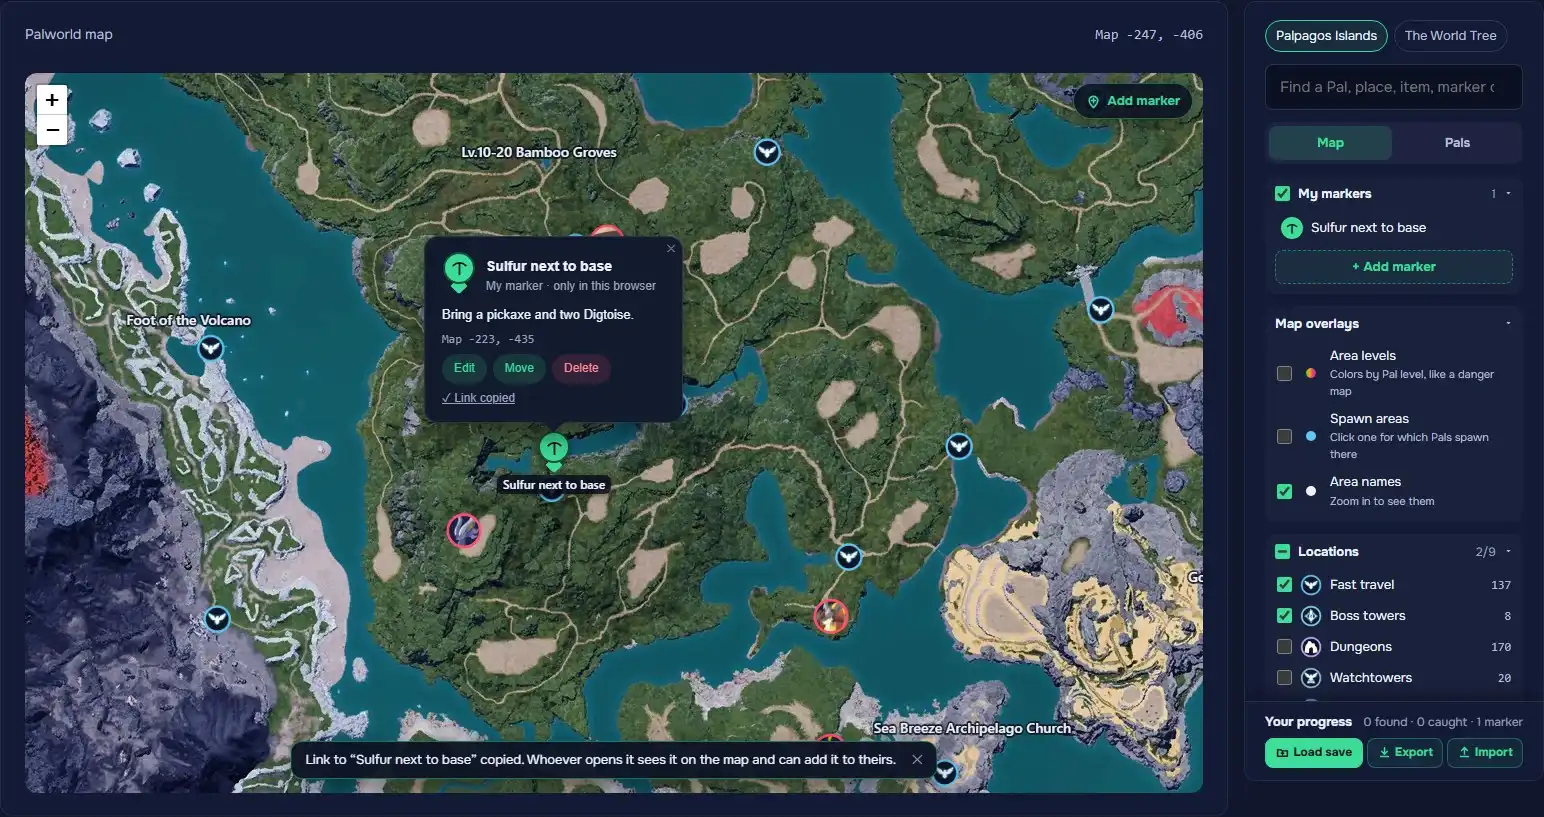
Your markers are kept in this browser. Click one for Edit, Move and Delete. Adding, moving and deleting can be undone from the message that confirms it.
Step 6: Share a marker or the whole view
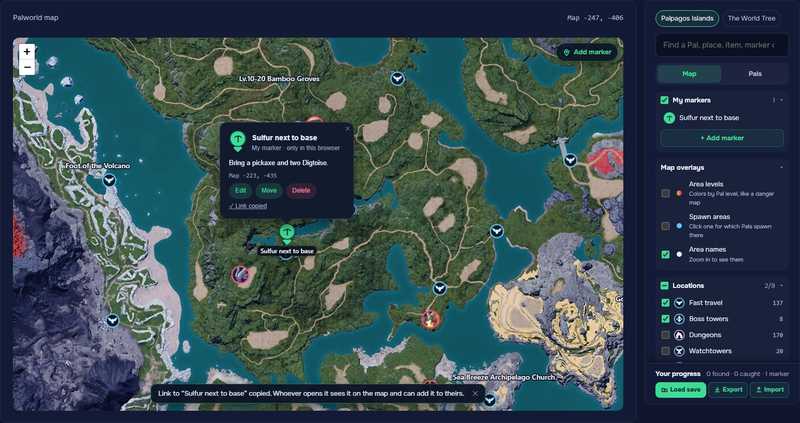
Click your marker, then Copy link to send it. Whoever opens the link sees the marker on the map and can add it to theirs.
Copy link to this view, at the bottom of the layer list, copies a link that opens the map where you are, with the same layers and Pals on.
Links need no account: paste them in your Discord.
Step 7: Load your save
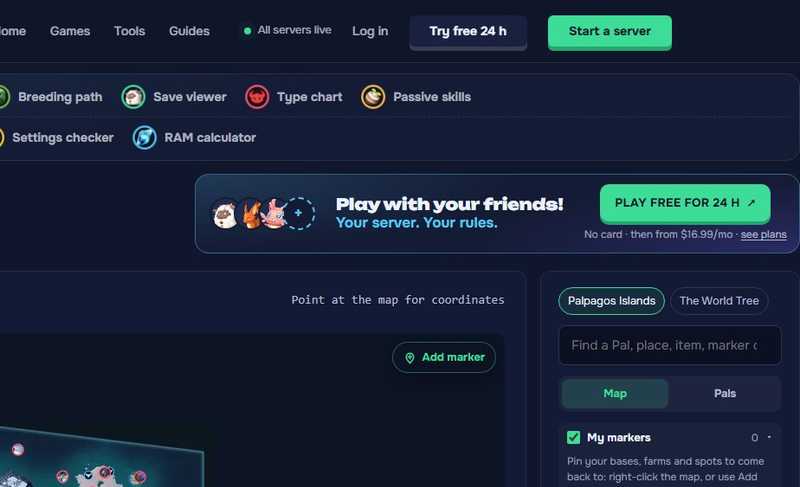
Click Load save under Your progress, then Copy next to
%LOCALAPPDATA%\Pal\Saved\SaveGames(Steam on Windows).Click Choose save folder. In the folder window, paste the path in the address bar, press Enter and choose that SaveGames folder. You can also choose one world’s folder, or one player file (.sav). On a server, the world is in
Pal/Saved/SaveGames/0/<world>.Your browser may ask whether to “upload” the files. That is its word for letting the page read them: the save is read on your device and never leaves it.
Step 8: Choose your world
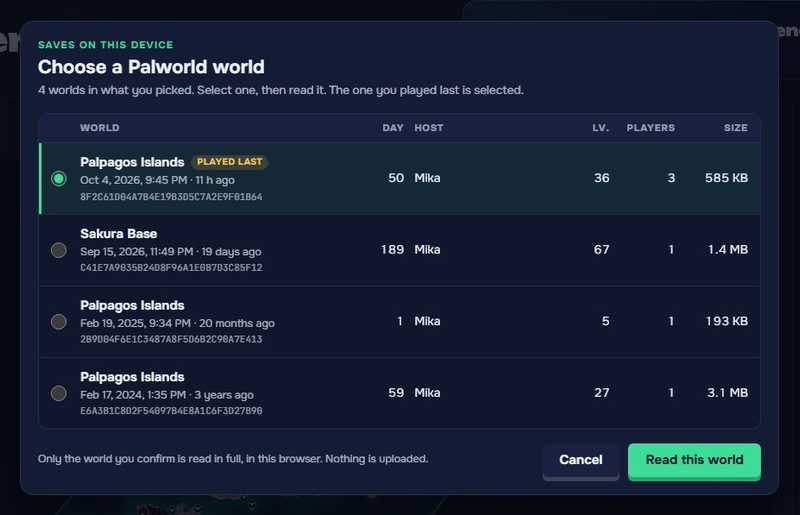
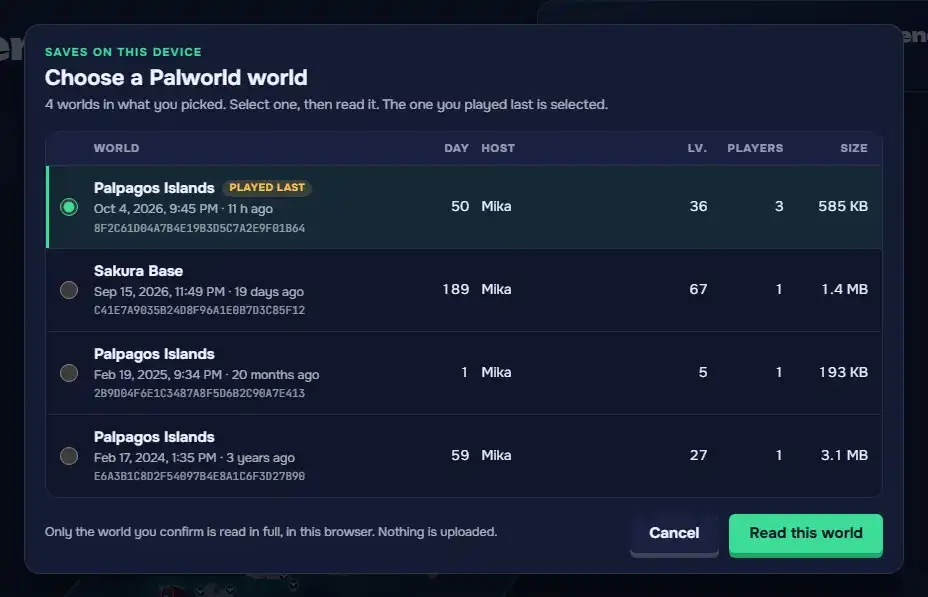
When the folder holds several worlds, the map lists them with their name, in-game day, host, host level, players and size, last played first. Select one and click Read this world.
If the world has several players, the map then asks whose progress it is.
Only the world you confirm is read in full, in your browser.
Step 9: See what you’ve found, and what’s left
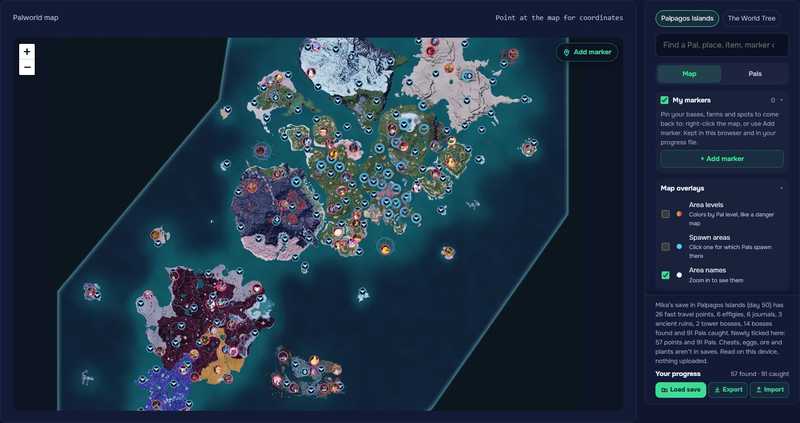
The map ticks off the fast travel points, effigies, journals, ancient ruins, tower bosses and bosses in your save, and the Pals you caught. Each layer’s count becomes found/total, found fast travel points turn blue and the rest dim.
Tick Hide what I found to see only what’s left. Chests, eggs, ore and plants aren’t in saves: mark those as found on their cards.
Load it again after you play: it only adds, so nothing you ticked by hand is lost. Export saves your progress and markers to a file you can import on another computer.
Step 10: Use the resource maps
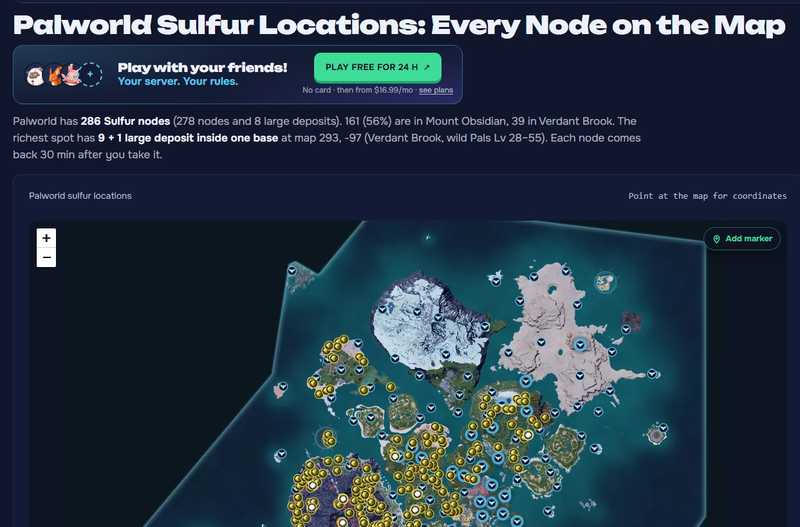
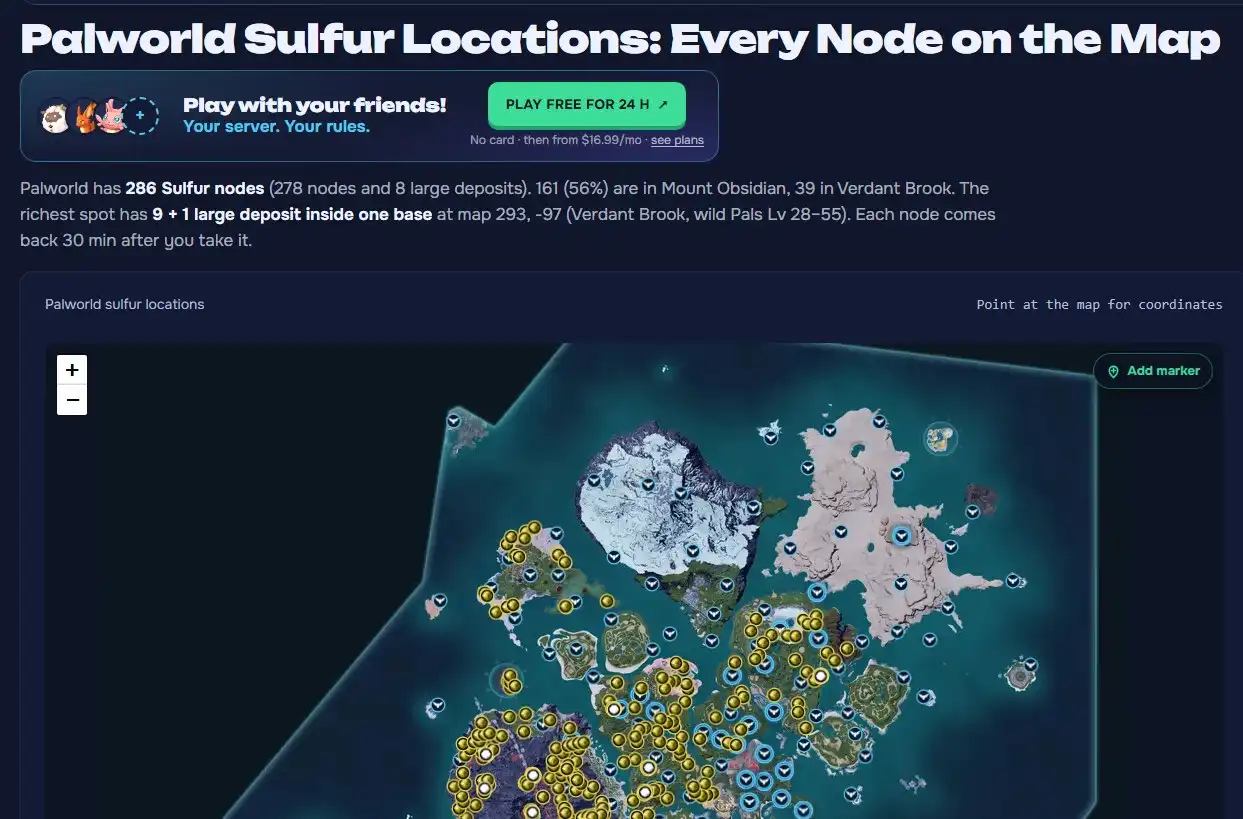
Each resource has its own page with the map already on that layer: Coal, Sulfur, Pure Quartz, Ore, Paldium, effigies, eggs and more, plus the best base locations.
Mining pages rank the best spots by how many nodes fit in one base, with the wild Pals’ level, the nearest fast travel point and Open on the map.
That’s the whole map
Keep it open while you play, and load your save again after a session to tick off what you found.
Open the interactive map